What does it take to grow weed at home? – Cannabis Grow Basics
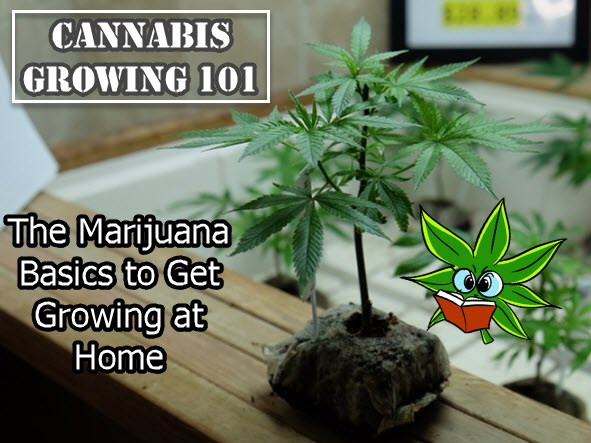
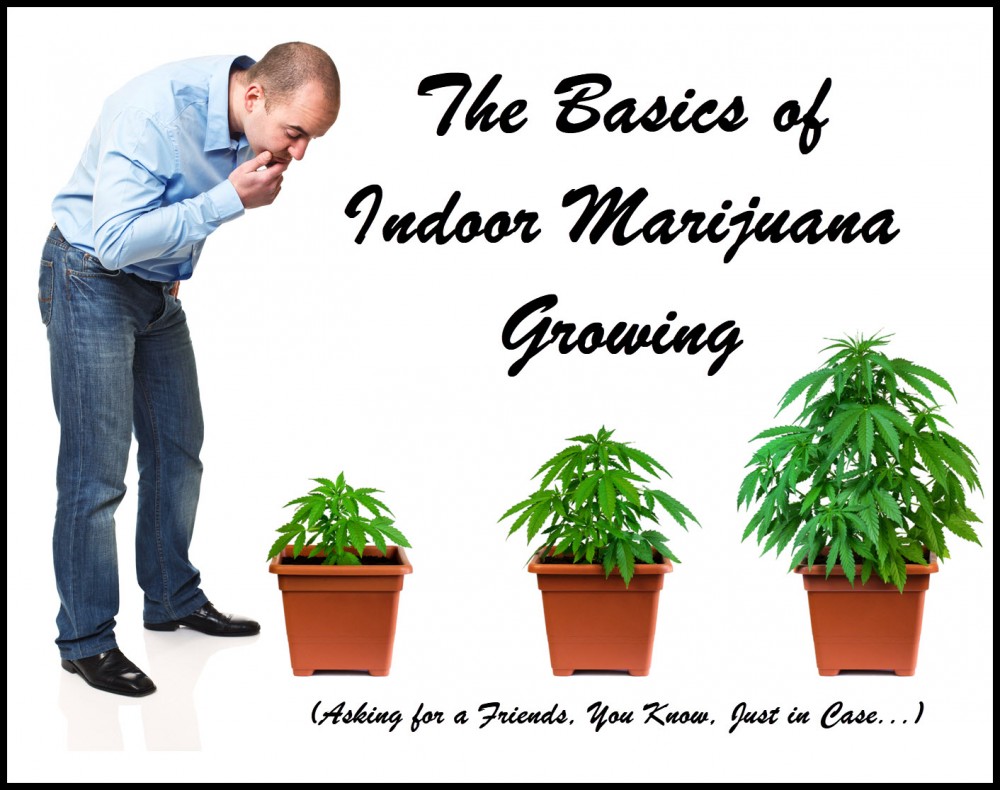
Over the years I have written extensive articles on how to grow cannabis at home. Many people think that it’s quite complicated, but in reality, growing weed is as simple as putting a seed in the ground and providing enough water and nutrients for it to grow.
If you’ve ever managed to grow tomatoes or any other plant at your home, you have the essential skills to grow your own cannabis as well. Of course, the cannabis plant can be tricky sometimes, but if you are vigilant, anyone can virtually grow this amazing plant at home.
Today, we’ll be going over some of the basics to get you started. Considering that this is an article aimed at newcomers, we will ignore hydroponics as a method of growing and go back to the roots of growing in soil. I personally believe that soil provides you with a larger margin of error compared to hydroponics and has a lower cost as well.
It all starts with Genetics
If you want to grow amazing cannabis, it’s important to have amazing genetics. While it’s true, you can take any seed and grow cannabis, the genetics of a particular plant will be the limiting factor in terms to potency.
Thus, selecting the seeds is your first step. There are plenty of seed banks all around the world where you can order quality seeds. Most of these seed banks also provides you with insight on the “difficulty” of the plant (in terms of growing).
For those who don’t want to bother with light cycles, you can opt in for auto-flowering seeds, meaning that the plant will grow and run its course until maturity. Additionally, if you are going to buy seeds, always look for feminized seeds, as this will ensure that you get female plants (cannabis plants) as opposed to male plants (hemp).
If you have a few seeds you’ve gathered over the years, you won’t know for sure whether it’s male or female. It’s about a 50-50 chance you get a female. In this case, it’s best to sprout several seeds and to eliminate the males prior to getting your plant into the flowering stage of the growing cycle.
Don’t worry about these terms, I’ll explain them as well.
Getting the environment ready
Now that you have your seeds selected, it’s time to set up the environment. Ideally, you want a sterilized environment to reduce the chance of pests and other issues that can arise throughout a grow. Considering that we’re using soil, it’s important to properly mix your soil as well.
You’ll want soil with high nitrogen fertilizer mixed into it. The initial mix will be mostly soil with about 5% fertilizer pre-mixed into it. Later on, prior to the flowering stage, you can get a bit more fertilizer into the mix since during this stage the plant will require more nutrients to grow strong.
As for your containers, they will need to have a drainage system installed. You can do this by drilling holes in the bottom of the container, and lining the bottom with volcanic rock as it is porous and drains well. Fail to add proper drainage and you risk root rot, as the water will accumulate on the bottom of the container.
Create layers within the container, starting with volcanic rock (or any stone/gravel) at the bottom. Then add your soil mix on top of that. While there is a science to mixing soil correctly, as a beginner, you can simply go to a gardening store and buy some nitrogen rich pre-mixed soil. In another article we’ll talk about mixing the best soil possible.
Once you have set up your containers, it’s time to germinate and plant your seeds.
Germination and Planting and Transferring plants
I personally like to germinate my seeds using Ziploc bags. Simply take some water and a piece of paper towel, wet the towel and place the seeds in the center. Then place all of that inside a Ziploc. Keep it in a dark spot for about 2-3 days and you should notice some of the seeds starting to sprout.
Then, you’ll want to place them in starter caps. You could buy starter caps virtually anywhere, even Walmart. However, if you’re cheap like me and shit like every other human on this planet, then you could implement a DIY starter cap by using the inside of a toilet paper roll. Simply cut it in half, fill it with the soil you will be using for your main grow and allow the plant to grow about 3-4 inches. This allows it to develop some roots which will make transferring easier.
Considering that you’re using a starter cap (or your DIY alternative); when the plant is ready, simply place the cap/DIY solution into the soil (within your container) and cover it. Add a bit of water to secure it.
Growing the weed itself
The estimated time for vegging (when your plant is growing) is roughly 1-2 months. If you’re doing outdoor grows, you don’t have to worry too much about light cycles as the plant would use the sun as an indicator. Nonetheless, it takes between 1-3 months for it to completely get through the vegging process and would naturally kick over to flowering after that.
Another 2-3 months of flowering, the plant will be ready for harvest. In between this time you have but a few responsibilities:
Make sure that the plant is watered enough.
Use fertilizer MOSTLY during the vegetative stage. DO NOT use fertilizer or pesticides (AT ALL) 4 weeks before harvesting.
Make sure that you take care of pests, and other issues that might arise.
Talk to your plants (they love it)
Once you’re done with the growing process you’re still not done.
Cutting, Drying and Curing
This is probably the step that ruins good weed the most. If you don’t properly dry and cure the weed, it won’t reach its full potential. This is probably the trickiest of all the parts of growing weed mainly because of the eagerness you have to smoke your own crop. Patience is a virtue, so if you can hold out, you’ll have a better reward in the end.
At some other time I’ll jump into the intricacies of drying and curing, however for now, take it slow and let the plant to its magic.
That is basically all you need to know about growing weed (for starters). The biggest thing is to just get started. You don’t need the “best gear”, you just need to have the incentive and patience to grow weed.
GROWING WEED AT HOME, READ THESE..
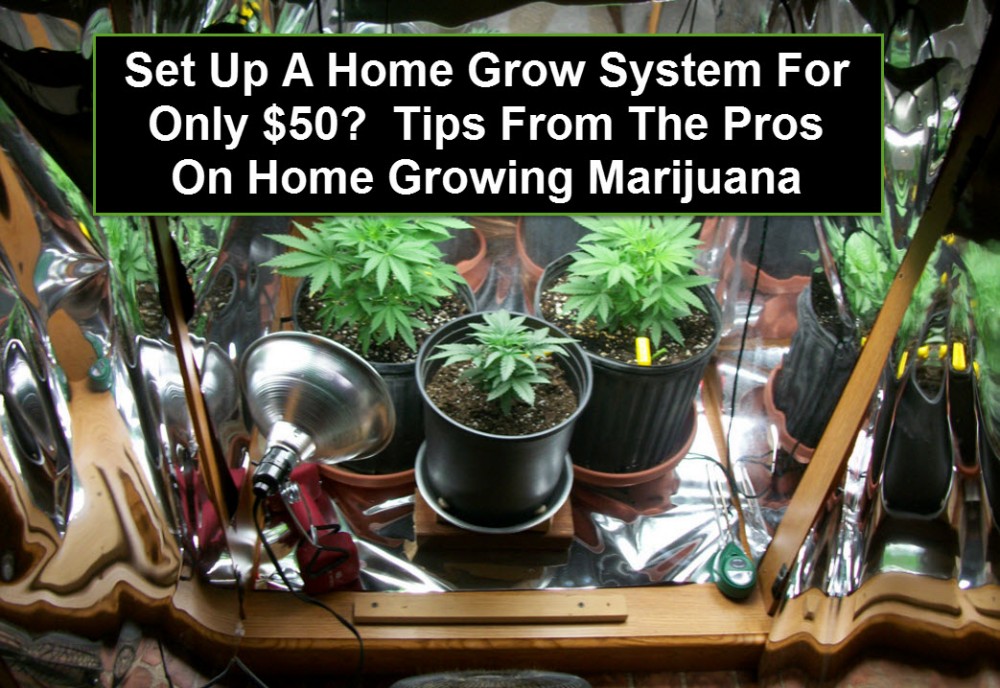
GROWING MARJIUANA AT HOME ON A BUDGET, CLICK HERE.
OR..
BENEFITS OF GROWING YOUR OWN WEED, CLICK HERE.
OR..
THE HOME GROW CANNABIS CHECKLIST, CLICK HERE.
OR..
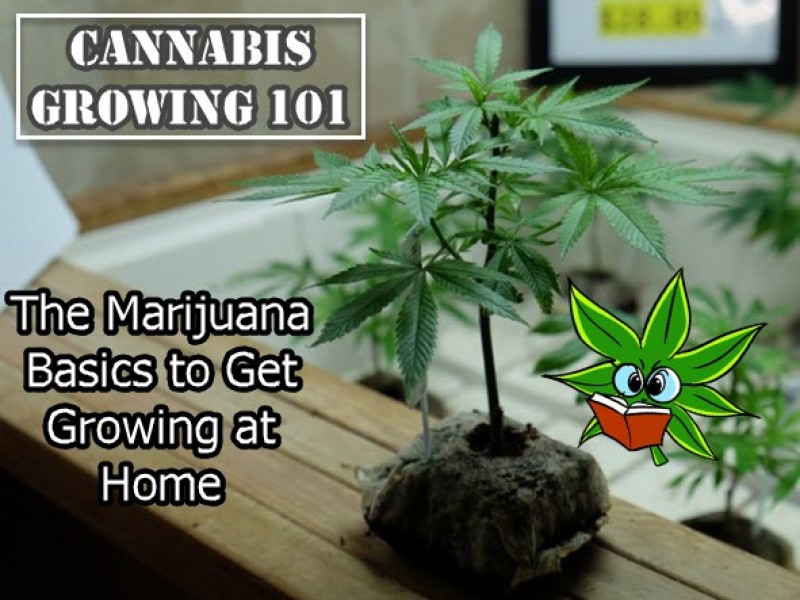
HOW DO YOU GROW WEED AT HOME, THE BASICS TO GET GOING!

